You don't need existing doorbell wiring to get Ring up and running at your front door. Ring doorbell installation without existing doorbell infrastructure is one of the most popular DIY home security upgrades out there, and Ring has designed their battery-powered lineup specifically for homes that never had wiring to begin with. You can have a working video doorbell in under 30 minutes.

Battery-powered Ring models are wireless, mount to any flat surface, and connect to your home's Wi-Fi. You get live video, two-way audio, motion alerts, and night vision — the same core features as the hardwired versions. The main trade-off is recharging the battery every few months rather than relying on house wiring to keep it topped up.
There are a few decisions to make upfront: which Ring model fits your situation, how you'll handle the indoor chime, and where exactly to mount it. This guide breaks all of that down, clears up common myths, and walks you through the install step by step — whether you're a renter or a first-time homeowner.
Contents
- Battery vs. Hardwired: Comparing Your Ring Doorbell Options
- What No-Wiring Ring Installations Actually Look Like
- How to Install a Ring Doorbell Without Existing Wiring
- Clearing Up the Confusion: Ring Doorbell Myths
- Troubleshooting Your Ring After Installation
- Mistakes That Can Derail Your Ring Doorbell Installation
- Frequently Asked Questions
- Final Thoughts
Battery vs. Hardwired: Comparing Your Ring Doorbell Options
Not all Ring doorbells work the same way. Before you buy, it helps to know which models are built for homes without existing doorbell wiring — and which ones require it. Here's a clear breakdown.
Battery-Powered Models Worth Knowing
These are the models you want if you're starting from scratch:
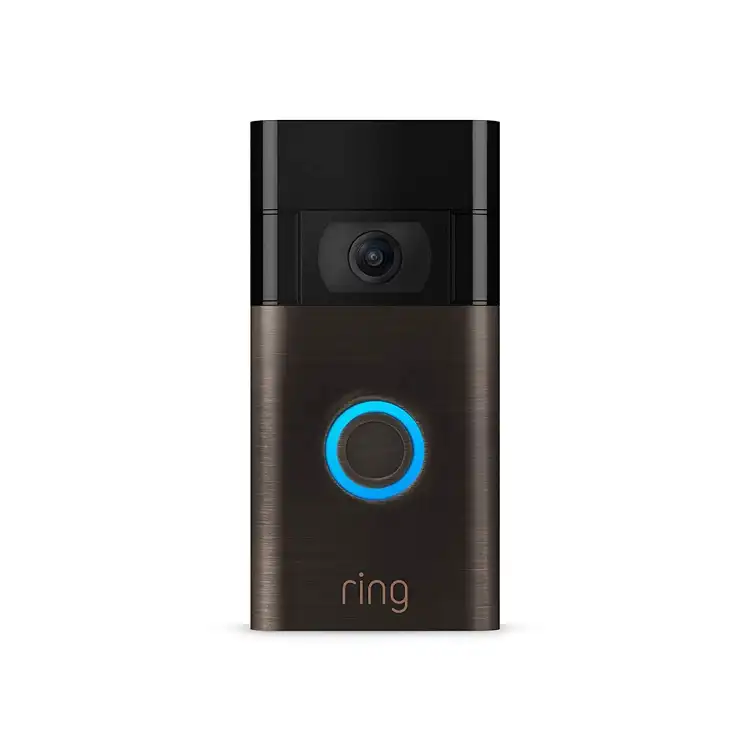
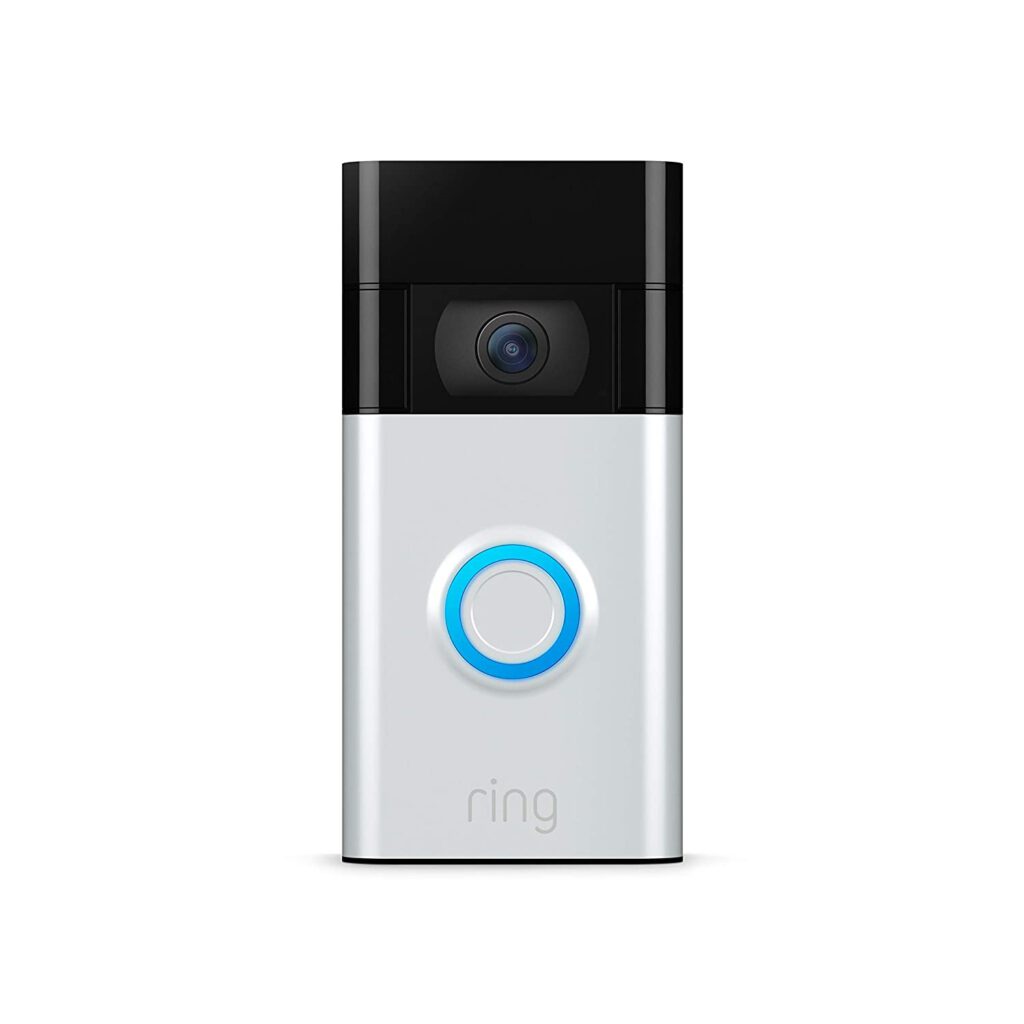
- Ring Video Doorbell (standard) — The most affordable entry point. Rechargeable battery, 1080p HD video, simple mounting. Great for renters and first-timers.
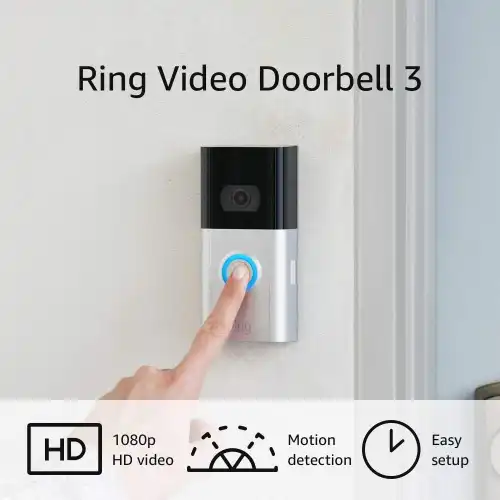
- Ring Video Doorbell 3 — Dual-band Wi-Fi, improved motion detection zones, and a removable battery pack you can swap without unmounting the device.
- Ring Video Doorbell 4 — Adds pre-roll video (a 4-second clip captured before motion triggers), so you catch more of what happens before the doorbell rings.
- Ring Battery Doorbell Plus — Head-to-toe video view and color night vision for the most complete picture of who's at your door.
Hardwired vs. Battery at a Glance
If you want to compare Ring against other brands entirely, our Ring vs. Arlo Video Doorbell comparison covers the full side-by-side. But if it's purely battery vs. wired you're weighing, here's the quick version:
| Feature | Battery-Powered Ring | Hardwired Ring |
|---|---|---|
| Requires existing wiring | No | Yes |
| Ongoing maintenance | Recharge every 1–6 months | None (always on) |
| Works in rentals | Yes | Usually not |
| Indoor chime | Ring Chime (add-on) or app alert | Existing chime box |
| Installation difficulty | Easy — fully DIY | Moderate — wiring involved |
| Video quality | 1080p HD (all models) | 1080p HD (all models) |
| Best for | Renters, older homes, first installs | New construction, permanent setups |
Battery models aren't a compromise. They're a purpose-built solution for homes without wiring — and for most people, the periodic charging is a non-issue.
What No-Wiring Ring Installations Actually Look Like
Theory is one thing. Here's what these installs actually look like in practice, because your situation probably fits one of these two common cases.
For Renters and Apartment Dwellers
If you're renting, battery Ring doorbells work in your favor. No electrical work is required, and most landlords are fine with a few small screws in the door frame. Smart doorbells have become common enough that many leases now address them explicitly.
- Use the included mounting bracket — it attaches with just a few small screws.
- If drilling isn't allowed, Ring sells a no-drill mount for several models that uses adhesive instead.
- For the indoor chime, plug the Ring Chime (a Wi-Fi-connected chime accessory) into any outlet — no wiring whatsoever.
- When you move out, remove the bracket and patch the screw holes. Clean and simple.
Older Homes With No Existing Wiring
Homes built before modern doorbell systems became standard often have nothing at the front door — no wire, no transformer, no chime box. That used to be a problem. Now it's not. Battery Ring models treat every house equally.
One thing worth considering: if your home has an old but broken chime system, check out our guide on fixing a doorbell chime box before deciding whether to repair it or just use a Ring Chime plugin instead. For most older homes, skipping the old chime is the easier path.
Pro tip: If your front door is more than 30 feet from your router, place a Wi-Fi extender nearby before installing — weak signal is the number-one cause of Ring connectivity issues.
How to Install a Ring Doorbell Without Existing Wiring
Here's the actual ring doorbell installation without existing doorbell process, broken into simple steps. No electrician, no special skills required.
What You'll Need
- Your Ring doorbell — fully charged before you start
- The included mounting bracket and screws
- A drill or Phillips screwdriver
- A level (optional but helpful)
- Your smartphone with the Ring app installed
- Your Wi-Fi network name and password
- A Ring Chime (optional, for indoor sound alerts)
Step-by-Step Installation
- Charge the battery to 100% before doing anything else. A partial charge during setup causes unnecessary interruptions.
- Download the Ring app and add your new device through the in-app setup wizard. Complete this step before mounting.
- Connect to Wi-Fi through the app. Ring walks you through putting the doorbell in setup mode (usually a button press on the side) and joining your network.
- Choose your mounting location. About 48 inches (1.2 meters) from the ground is the standard height. The doorbell should have a clear sightline to anyone approaching.
- Hold up the mounting bracket and use a level to confirm it's straight. Mark your drill points with a pencil.
- Drill pilot holes if mounting on wood siding. Use the included wall anchors for stucco or brick — they're in the box.
- Attach the bracket and click your Ring doorbell into place. Tighten the security screw at the bottom with the included star-tip bit.
- Test everything. Press the button and confirm a notification on your phone. Walk past to verify motion detection is triggering.
The whole process takes 20–30 minutes for most people. If you're adding a Ring Chime, plug it into any outlet and add it in the app — tack on another 5 minutes.
Heads up: Don't mount the device before completing the in-app pairing. On some models, you need access to the battery compartment to activate setup mode — mount first and you'll have to unmount right away.
Clearing Up the Confusion: Ring Doorbell Myths
There's a lot of outdated and outright wrong information about installing Ring without wiring. Let's clear up the two biggest ones.
Myth: You Need an Electrician
This is the most persistent misconception. You do not need an electrician for a battery-powered Ring doorbell. An electrician only enters the picture if you're installing a hardwired model like the Ring Video Doorbell Pro 2 — and even that's a low-voltage connection many homeowners handle themselves.
Battery models require zero wiring. The only "electrical" task is charging via USB, which is no different from charging your phone.
Myth: Battery Models Are Inferior
Not true. Battery-powered Ring doorbells deliver the same 1080p HD video, two-way audio, motion detection, night vision, and smart home integrations as wired versions. The only functional difference is how they're powered.
- Battery life ranges from 1–6 months depending on traffic, temperature, and settings.
- Models like the Ring Doorbell 3 use removable battery packs — swap in a spare without unmounting the device.
- If you ever want to transition to hardwired, that option stays open.
For a broader look at how Ring compares to other doorbell and camera options, our guide on video doorbells vs. security cameras covers the full picture.
Troubleshooting Your Ring After Installation
Most installs go smoothly. But a handful of issues pop up more than others — here's how to handle them.
Wi-Fi and Connectivity Issues
If your Ring shows as "offline" or keeps dropping connection:
- Check signal strength in the Ring app under Device Health. Look for the RSSI value (Received Signal Strength Indicator — a measure of Wi-Fi signal quality). You want it below -60 for reliable performance.
- Move your router closer or add a Wi-Fi extender near the front door.
- Make sure Ring is connecting to a 2.4 GHz band — it has better range through walls than 5 GHz.
- Restart the doorbell by removing and reinserting the battery, then reconnect in the app.
Motion Detection Problems
If Ring is missing visitors or flooding your phone with false alerts:
- Open the app and adjust your Motion Zones — draw a zone that covers your walkway, not the street or neighbor's yard.
- Lower the Motion Sensitivity slider if passing cars or tree branches keep triggering it.
- If people are being missed entirely, raise sensitivity or check if the mounting angle is pointed too high.
- Confirm nothing is blocking the PIR sensor (Passive Infrared sensor — the small lens that detects heat movement) at the bottom of the doorbell face.
If you want to pair your Ring with other cameras around the property, our security camera systems guide is a great next step. And if you're trying to store footage without paying monthly fees, see how to save Ring doorbell video without a subscription for your options.
Mistakes That Can Derail Your Ring Doorbell Installation
Even a simple install can go sideways. Here are the most common slip-ups — and how to avoid them.
Before and During Install
- Not charging the battery first. A partial charge during setup can interrupt the pairing process. Always charge to 100% before you start.
- Mounting at the wrong height or angle. The 48-inch standard works for most doors. Too high and you'll miss faces; too low and you'll catch mostly torsos. Use a slight downward tilt.
- Skipping in-app setup before mounting. Some models require button access for setup mode — mount first and you'll have to unmount immediately.
- Mounting on hollow or unstable surfaces. Loose siding won't hold screws securely. Find a stud or use the correct wall anchors for your surface material.
- Ignoring the angle wedge in the box. Ring includes a wedge kit for angled or recessed doors. If your door frame isn't flat-on, use it — it makes a real difference in coverage.
After You're Set Up
- Skipping Motion Zone customization. Default settings catch a lot of unnecessary traffic. Dial in your zones right after install.
- Leaving two-factor authentication off. Ring accounts have been targeted in credential-stuffing attacks. Enable 2FA in your account settings immediately.
- Ignoring low battery notifications. Ring sends an alert when the battery is getting low — act on it promptly. Letting it fully drain can cause issues on older firmware.
- Not testing the mount before walking away. Give the installed doorbell a firm tug. If it moves, your anchors aren't holding — redo it before leaving it unattended.
Frequently Asked Questions
Can I install a Ring doorbell without any existing doorbell wiring?
Yes. Battery-powered Ring models — like the standard Ring Video Doorbell, the Doorbell 3, and the Battery Doorbell Plus — are designed specifically for homes with no wiring. They run on a rechargeable battery and connect to your Wi-Fi.
How long does the Ring battery last without wiring?
Typically 1–6 months per charge. Battery life depends on how much motion your doorbell detects, outdoor temperatures, and your video settings. You'll get a low-battery alert in the app well before it dies.
Do I need a Ring subscription to use my doorbell without wiring?
No. Live view, two-way talk, and real-time motion notifications all work without a subscription. A subscription (Ring Protect) is only needed if you want to save and review recorded video history.
How do I get an indoor chime sound if I have no existing doorbell?
Buy the Ring Chime — a small Wi-Fi plug-in accessory that plays a sound whenever someone presses your doorbell. It plugs into any standard outlet and takes about 5 minutes to add in the Ring app. You can also just rely on phone push notifications.
Can I install a Ring doorbell as a renter?
In most cases, yes. Battery Ring doorbells only need a few small screws in the door frame. When you move out, remove the bracket and fill the holes. Ring also sells a no-drill mount for select models if drilling isn't an option at all.
What tools do I need for ring doorbell installation without existing doorbell wiring?
A Phillips screwdriver or drill, a level, and a charged Ring doorbell. Wall anchors for stucco or brick come in the box. No voltage testers, wire strippers, or special hardware needed.
Why is my Ring showing offline after installation?
Weak Wi-Fi signal is the most common cause. Check the RSSI value under Device Health in the Ring app — aim for below -60. If the signal is poor, add a Wi-Fi extender near the front door. Also try restarting the doorbell by removing and reinserting the battery.
Is battery Ring installation harder than a standard wired install?
It's actually easier. A wired install requires turning off a breaker, disconnecting old wires, and connecting Ring to low-voltage terminals. Battery installs skip all of that — it's mount, charge, and connect through the app.
Final Thoughts
Ring doorbell installation without existing doorbell wiring is one of the most accessible home security upgrades you can make — no contractor, no electrician, no special skills. Pick a battery-powered model that fits your needs, follow the steps above, and you'll be up and running in under 30 minutes. Head over to our Ring doorbell installation guide hub for more model comparisons, mounting tips, and setup resources to get the most out of your Ring system.


About Vincent Foster
Greetings, This is Tom Vincent. I’m a home Security Expert and Web developer. I am a fan of technology, home security, entrepreneurship, and DIY. I’m also interested in web development and gardening. I always try to share my experience with my reader. Stay Connected and Keep Reading My Blog. Follow Me: Facebook, Twitter, Pinterest
Now you can get FREE Gifts. Or latest Free Security Cameras here.
Disable Ad block to reveal all the gifts. Once done, hit a button below