How to Replace a Front Door Lock with a Keyed Deadbolt
by Vincent Foster
Never mind, but the idea of investing a lot of money in a professional locksmith still bothers us! These are the jobs that you can do on your own! Removing a door lock and adding a new one is not a big deal if you have the equipment ready!
So, today, we will tell you how to replace a front door lock with a keyed deadbolt and be your locksmith!
Take a look and never search for the experts anymore!

Step by Step Guide How to Replace Door Lock with Deadbolt
This step by step by step guide to replace the door lock and add a new deadbolt will help you secure your front door to the next level!
Step 1: The Right Sized Deadbolt

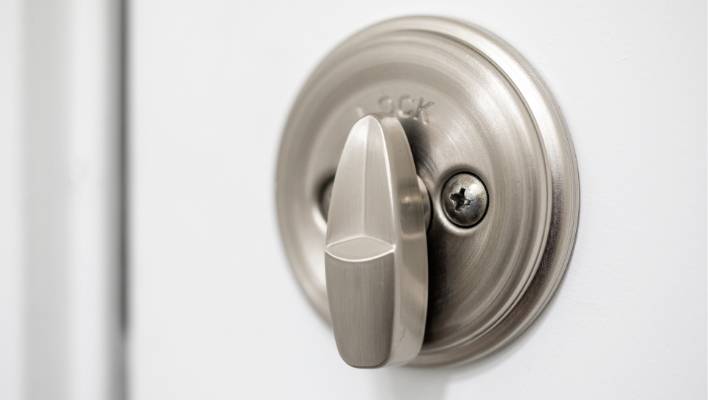
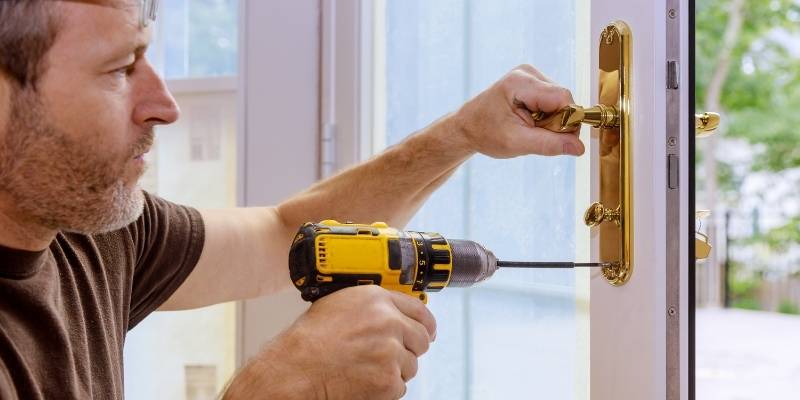
Whenever you plan to add new deadlocks to your security front doors, the new door lock must match the previous one. Yes, we are talking about the size. So, first of all, you have to check the size of the door lock. Now, you have to note down the size and search for the same-sized deadbolt. This will make your work easier when it comes to replacement. However, you are free to add a different-sized deadbolt in the place of the previous one. In that case, you will need a drill machine. First, take off the previous front door lock. Then, with the drill bit, all you need to do is make a hole for the new deadbolt! So, it is time for opening the front door lock. Make sure that the door lock is not in the locked position. Open your door and keep it open.
Step 2: Screws Removal
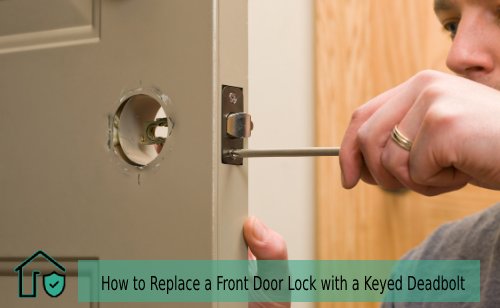
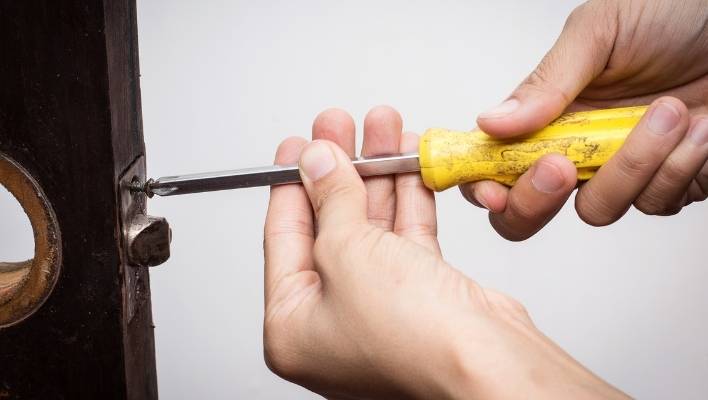
Once you take off the front door lock, you have to make the door steady. Use the doorstoppers for this purpose and keep your door in one position. Here, you have to get your hands on a screwdriver and work with the screws. From the inside portion of the door lock, all you need to do is go through the screws and unscrew them. You should always set for a doorstopper or you can also call one of your friends. Because if the door is not steady, unscrewing will be tough! The reason is, as you are going to remove the screws with one hand, you have to use the other hand for holding the front doorknob. Otherwise, it will fall.
Step 3: Remove the Door Lock

We often tell that if you want to learn how to replace a front door lock with a keyed deadbolt, you must know how to deal with the screws! When you are done with the screws, with the other hand, you have to pull the front door lock. Take it out of the hole. But also remind yourself to be careful while you do it. Slowly, take it off and keep it aside. Don’t forget to keep the screws aside too. Make sure you store them somewhere the same for future usage.
Step 4: Door and Doorframe Strike Plates Replacement
Now, it is time for you to check the strike plates of both the previous locks and the new ones. If you have chosen the same sized locks, chances are, the strike plates will be the same. In that situation, there is no need of replacing the old strike plates with the new ones. However, if the size doesn’t match or you are replacing it with a different-sized deadbolt, you have to install the new strike plate. So, start working on removing the old strike plate. Check for the two screws first and take them off. Now, with the perfect screws, change the doorframe stroke plate at first. After you are done, you have to replace the door’s strike plate. Once you are done, tighten the screws.
Step 5: Test the Deadbolt
You are almost done with removing the previous lock. It is time for you to install the new lock! For this, you have to take the lock and position it properly. You should keep the latch facing inward. Here, you have to test the deadbolt. To do this, turn the latch holding it in its place. If it works, you are ready to install it as it is working fine with the previous holes. But in rare cases, the deadbolt might be tough to deal with while testing. To get rid of this, you have to take off the lock first and then get a wood chisel. Here, with it, you have to check the door’s side where the deadbolt passes. There, you need to remove a bit of extra wood with the device so that the holes fit properly.
Step 6: Adjustments and Readjustments
Once you are sure that the deadbolt is working fine, hold it in its position. Now, turn the latch back and forth again and again. Take it off and they check the moving parts. Add some lubrication there. Metal lubricant is recommended for such occasions. It is ready to go inside. Here, you must take it inside the hole once again and make sure it is properly set. Check the front door and place the front key plate there. The front face place usually includes two different cylinders. These are designed for the screws. Here, it is necessary to line the cylinder up with the screws and the holes of your new deadbolt. Different deadbolts will require different adjustments for fitting perfectly. Go through the deadbolt properly and you will understand. Sometimes, you need to install these two pieces simultaneously to make it work. You have to adjust and readjust until the pieces fit the device properly.
Step 7: Tighten the Screws
Get your hands on the screws now as you are sure that the pieces are fitting perfectly. With your hands, take the screws inside the holes manually. These will exactly go through the threaded cylinders that are added on the front keyed face late. Once they are in the right place, you will feel that they are engaged. All you have to do now is screw them up. Find the screwdriver once again and start screwing them. Tightening properly is vital. But we often over-tighten the screws. Avoid over-tightening the screws.
Step 8: Test It Again

Once the screws are set properly, it is time for you to test the door. Before you tighten the screws, after manually putting them inside, you have to remove your hand to see if they are engaged there or not. If they fit, go through the previous process and screw them up. If not, you must check step 6 once again to make them the right fit. And after screwing the final screws, check and recheck the deadbolt and certify that it is working. Otherwise, read the previous steps once again to find your mistake and correct it!
Related Guide You may check:
- How to Remove Door Handle
- How to Install Kwikset Front Door Handle Set
- How to Install a Door Handle Set
Wrap Up
Replacing the front door lock with a new deadbolt is not that tough. So, it is completely unnecessary to spend a lot on professionals. All you need is to go through the steps that are discussed in detail and you can remove and install the lock without any help!
Beforehand, make sure you have prepared all the needed gears so that you don’t need to leave the work and go to purchase them in the middle. Don’t forget to check out the blog for more door locks and solutions!
 |
 |
 |
 |

About Vincent Foster
Greetings, This is Tom Vincent. I’m a home Security Expert and Web developer. I am a fan of technology, home security, entrepreneurship, and DIY. I’m also interested in web development and gardening. I always try to share my experience with my reader. Stay Connected and Keep Reading My Blog. Follow Me: Facebook, Twitter, Pinterest
Thoughts on "How to Replace a Front Door Lock with a Keyed Deadbolt"
 |
 |
 |
 |
Home Security
Now you can get FREE Gifts. Or latest Free Security Cameras here.
Disable Ad block to reveal all the gifts. Once done, hit a button below
 |
 |
 |
 |